For photographers, there is nothing quite like traveling to the Svalbard archipelago and venturing onto the pack ice for photography. As I pack for such a trip, I am evaluating the camera gear that worked best on my previous Arctic travels. My goal is to travel with a streamlined, yet highly capable camera kit for everything from landscapes to wildlife – but with a primary objective of photographing polar bears.
My trip this summer will be divided into two parts. The first is dedicated to land-based activities such as observing Arctic foxes and bird life. The second is a ten-day navigation aboard a small icebreaker, with potential sightings of seals, walruses, and polar bears. These small vessels allow for wildlife photography directly from the ship or Zodiac boats, offering closer views of animals at water level.
Given these two different sides of the trip, plus the challenges of international travel, what does my bag look like? In this article, I’ll invite you to take a look, and perhaps find some inspiration for your own travels!

Table of Contents
Two Camera Bodies
Carrying two camera bodies is advisable for a trip like this. Partly, it is useful for backup in case of failure. The weather in the Arctic isn’t so bad during the summer, but still can be hard on camera gear. Temperatures typically range from -5°C to +10°C (around 23°F to 50°F), with strong winds and occasional rain and snow.
A second camera body is also beneficial to avoid constantly swapping lenses. This saves time and allows more flexible shooting in bad weather, where you may not be able to change lenses safely.
I will be bringing two Nikon Z9 bodies. I purchased these before more alternatives were available, and their weight does pose a challenge. However, they are weatherproof and capable of shooting in adverse conditions without a problem, and I know how to use the Z9 by heart.
Today, a pair of two Z8 cameras might be more suitable. I could also see using the Nikon Z6 III, or even the Nikon Z5 II on a budget, given the strong autofocus systems of those cameras. However, for a unique trip like this one, I appreciate the ability to have 45 megapixels, which slightly affects the ability to print larger.
I recommend, if possible, to carry two bodies that are identical or at least compatible in ergonomics and performance. This makes it quicker to switch between them. Also, being able to share camera batteries and accessories can provide some added convenience.

A Trio of Lenses
As anyone who’s read my field tests might guess, my selection includes the Nikon Z 24-120mm f/4 S, 100-400mm f/4.5-5.6 VR S, and 600mm f/4 TC VR S. I’ve refined this selection over time, and I find it suits me perfectly. Usually, I will keep the Nikon Z 100-400mm f/4.5-5.6 VR S permanently attached to one of my cameras, while I switch between the 24-120mm and the 600mm on the other camera, depending on the subject.
The Nikon Z 24-120mm f/4 S: A Multitalented Lens
An excellent travel lens. Although wildlife is the main focus of my trip, there will certainly be moments for landscape photography or some behind-the-scenes shots. This lens offers remarkable versatility, covering a wide focal range with a constant f/4 aperture, making it perfect for many situations.

The Nikon Z 100-400mm f/4.5-5.6 S: My Most Essential Lens
This zoom telephoto is indispensable for my wildlife photography. It provides great reach for medium and large subjects, like seals, seabirds in flight, or polar bears at mid-range. Its focal range allows for varied compositions, which is crucial when reaction speed matters. The built-in VR stabilization is useful for handheld shots, especially in low light or on moving boats. Its size is manageable, making a good compromise between reach and portability.


Nikon Z 600mm f/4 TC VR S
It’s hard to say anything about this lens that hasn’t been said already. It’s big and heavy, offers superb image quality, great brightness (f/4), and, above all, incredible reach. The ability to integrate a 1.4x internal teleconverter, extending the focal length to 840mm, is a huge advantage. It means it is practically as versatile as a zoom. This will be my first time bringing the 600mm f/4 to Svalbard; I have used a 500mm f/4 in the past.

Finally, for this trip, I won’t carry extreme wide angles with me. I don’t foresee shooting situations where they will be necessary. I would bring one during the winter to photograph the Northern Lights or the stars, but Svalbard experiences a midnight sun during the summer, so there is no chance of that.
Alternatives
Today, we are lucky enough to have an extraordinary range of camera and lens options for a trip like this, including on the used market. For mirrorless photographers, the Nikon Z 600mm f/6.3 PF and the 180-600mm f/5.6-6.3 are both strong choices. A two-lens kit with the 24-120mm f/4 and the 180-600mm f/5.6-6.3 will be highly capable and much less expensive.
Meanwhile, other options on a budget include a used Nikon D850 or D500 with F-mount lenses. This combination will have few compromises even though it is older gear. Some of my favorite F-mount lenses include the 500mm f/5.6 PF, or any E-series telephoto (400mm f/2.8E, 500mm f/4E, and 600mm f/4E).
I use Nikon because that’s what I own, and I recommend it because it is what I know. But I’m sure you can get the same results with equivalent gear from other brands.

Essential Accessories: From Binoculars to Data
Beyond camera bodies and lenses, a well-chosen set of accessories is vital for a successful photographic trip – particularly to a destination like Svalbard, which is very demanding on equipment.
Binoculars
Extremely useful, preferably of good quality and medium-small size (e.g., 8×30 or 10×42). You’ll often spot animals at great distances before they can be photographed. Binoculars let you observe their behavior and plan your shot.
Lens and Sensor Cleaning Kit
While not as dusty as Africa, Arctic conditions can be tough on photographic equipment, and a cleaning kit for lenses and sensors can be useful. It should always include a blower to remove dust before touching any glass or the sensor, microfiber cloths, and pre-moistened wipes for lenses (I use Zeiss antifog wipes).
For the sensor, I bring lens swabs and fluid. I always clean my sensors before every trip, and I rarely need to re-clean them while traveling. But it’s a big problem to run into a dirty sensor without a way to clean it.
Charger and Spare Battery
Although the Nikon Z9 batteries are exceptionally long-lasting, bringing at least one spare battery is always wise. I suggest to bring at least 2-3 if you use smaller batteries. Again, having two of the same camera makes battery management more efficient. I bring only one charger, since I can also charge batteries in-camera via USB-C.
Memory Cards
I bring four cards: three 512GB and one 325GB, for a total of nearly 2 TB. Now that I use HE* compression, this is probably overkill – I can store about 50,000 images on the Z9 with this set of cards. I prefer to use the second card slot as a backup, rather than overflow, but it is still plenty for a trip like this.
Tripod?
Given the nature of this expedition, using a tripod is not advisable – it is impractical on Zodiac boats, and it may transmit engine vibrations to the camera when on the larger ship. As a result, most photography from the boats is performed handheld. However, I do expect to use a monopod for the land-based portions of the trip.
Monopod
I’ll bring a lightweight Leofoto 284C with a Wimberley MH-100 Wimberley Mono Gimbal Head. I’ll report back after the trip.
Dry Bag
Photographing from a Zodiac presents challenges that shouldn’t be underestimated. I bought a very lightweight Sea-to-Summit dry bag that fits my camera with the 600mm f/4 attached. You don’t understand its value until you’re sitting on the side of a Zodiac speeding through choppy, windy arctic seas. Once the boat has slowed down, it’s safe to remove the camera from the dry bag.
Laptop and Backup Drives
Bringing a laptop on an adventurous trip such as this one can be somewhat distracting from the overall experience. However, it is also useful for backing up photos during the trip and assessing the images I take throughout.
I always bring two 2TB SSDs. To me, having a redundant backup system is crucial. I put everything – including card reader, charging cables, plugs, and the like – in a messenger bag. This travels with me as handhold luggage.
Backpack
For this kind of trip, I use a GuraGear Kiboko 30L+. It’s very roomy and pretty light, while fitting within the airline limits. One side fits the 600mm f/4, including the hood, while the other side fits the 24-120mm and 100-400mm lenses and the two camera bodies. The binoculars fit on top. You can see all that in the photos below, which shows the “working” or active configuration with the lenses attached to the bodies:


However, during the flights, I never carry the lenses mounted on the bodies in order to prevent stress on the mount. While flying, my bag looks more like this:
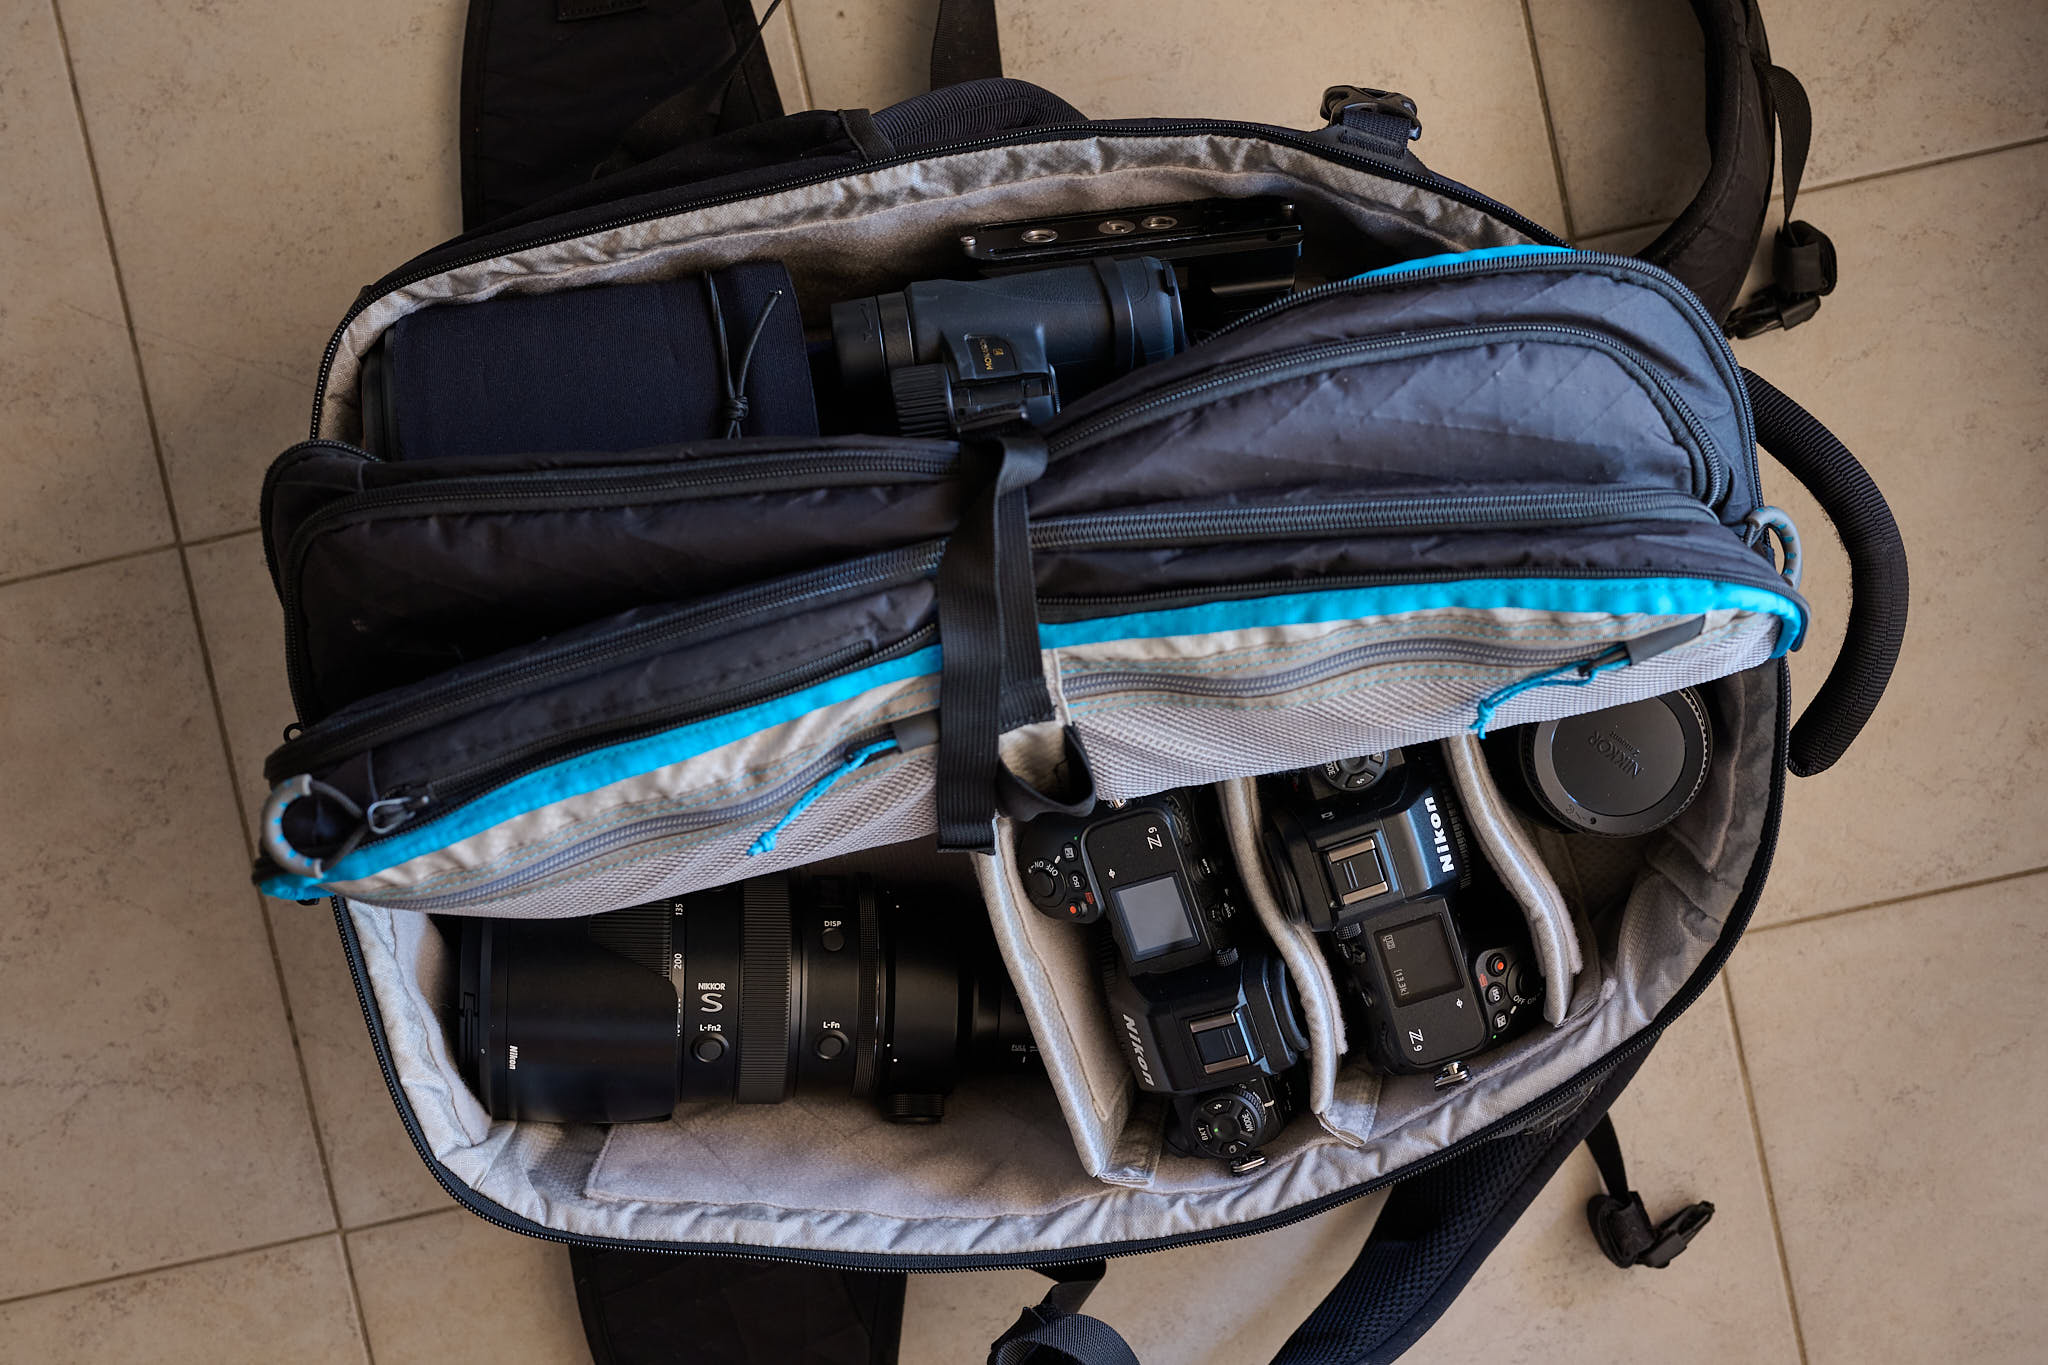
I like the butterfly-style opening on this bag in harsh environments. It helps me avoid fully opening the pack each time.
Conclusion
Selecting and packing the kit for a wildlife photography trip to Svalbard requires careful attention to detail. Moreover, it may take some careful and honest analysis of your past travels to decide which gear is essential and which should be left at home.
I hope you found this article interesting and enjoyed seeing what I plan to carry for summer travel in the Arctic! I will report back on the trip once I return from Svalbard and let you know how everything went.
Do you know anything about recent changes to wildlife viewing regulations that now require keeping at least 1 km away from polar bears, even from zodiacs, and retreating if the bear approaches?
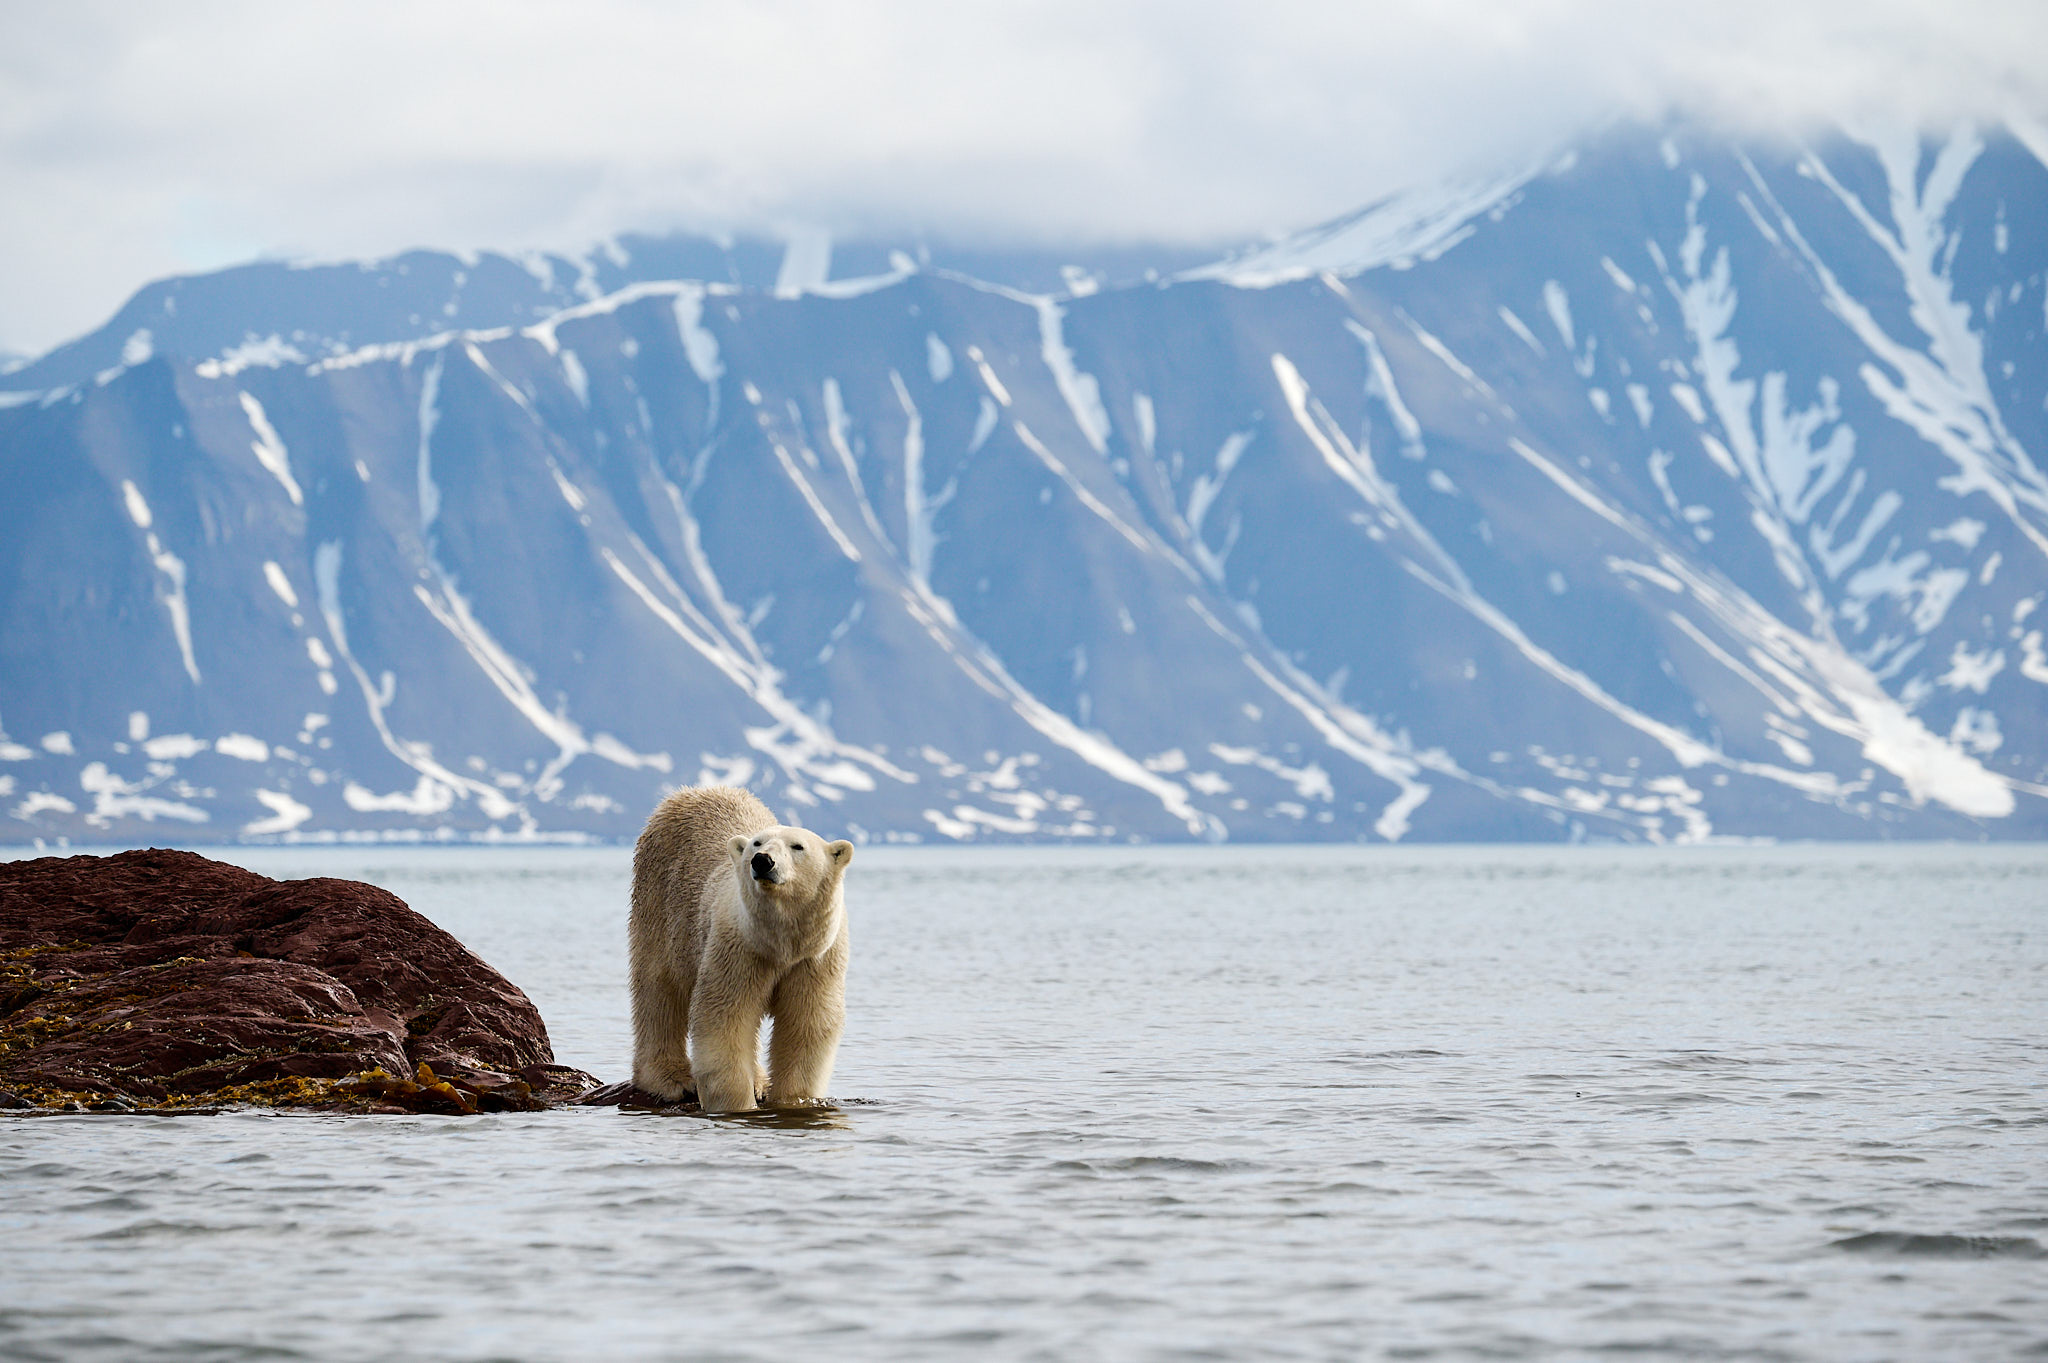
I confirm that since the beginning of the year, a new law has been in effect to protect polar bears (minimum 300 meters distance during the summer; 500 meters in winter) and other wildlife in the archipelago and nearby waters. Therefore, photos like the ones I took in 2022 that illustrate this article are no longer feasible on the Svalbard archipelago. I think that the spirit of the law is mostly to prevent big cruise ships carrying hundreds of passengers from stressing the usual spots, rather than focusing on small photographer groups with enabled guides. But a law is a law: people must respect and not discuss.
Having said that, the trip I booked for this year focuses on the far northeast: we will be on the pack ice, fully outside the affected areas and beyond the Svalbard archipelago for most of the time. According to the organization we travel with, they are outstanding experts, that is where the “true magic is.” So, probably it will not be so easy to see polar bears, but if we see them, it will hopefully be in very special scenery. As I learned many years ago, “nature is nature,” and you really can’t predict what your experience will be. Just dive into it and enjoy.
It was a choice—this kind of trip outside the usual path—only partly influenced by the new law, because this will be the third trip I take there, and we want to do something different anyway. The first was in June 2022, a classic trip around the usual spots for wildlife, bird cliffs, walrus colonies, and so on. The second was in March 2024, during the “arctic winter season,” focusing also on extreme climate and landscapes, during which the single polar bear I saw was even farther than 1 km.
Let’s see…
I did a similar trip (Antarctica) last December. Z8, 24-120, 180-600. I mostly used 24-120 on zodiac/land, and that worked well enough in most cases. The ideal setup would have been 24-120 on a Z7 for landscapes, 180-600 on Z8 for wildlife. There were a few times where a 600/4 with TC would have come handy, but by and large the 180-600 was plenty enough.
Thank you, Nikolay. Antarctica is on my dream list, I hope to visit (and Falkland, and South Georgia as well). I’m sure it is an incredible place!
Massimo,
Very useful information. I plan to add a couple of zooms and a macro for what I do. What kind/brand of equipment bag do you use? I like the “butterfly” idea.
I think Massimo is probably traveling already, or will be soon, so I’ll answer for him – that’s the Gura Gear Kiboko 2.0 30L+. Kind of pricey though. You might want to wait for a sale: bhpho.to/3Gh94ij
Thank you, Spencer!
I’m going to leave 4th July early morning…. And I’m just in trouble completing my office work and my luggage…
Best of luck! I can’t wait to see your photos once you return.
Having done this trip, the 24-120 + 100-400 + 600mm is ideal. The 600mm TC is IMO too heavy if you’re going to be in a zodiac, but maybe you’re stronger than I am. The guy I was with was *struggling* by the end of the day hand-holding, but he also got some great photos with it. It’s of course just fine if the deck of the ship is low and you’ll be using a gimbal. The 600mm f/6.3 is less flexible and a stop and a third slower, but is portable enough to hand-hold in a zodiac for hours. I brought a 14-24mm and used it once. Not worth it at all to bring the wide angle lenses since you can’t control your foreground and are limited to the boat for the most part.
An alternative setup for other viewers would be the 24-120 + 180-600mm. That’s the combo I mostly used, but my arms were quite tired by the end of a day spent in a zodiac other than breaking for lunch and dinner. Consider adding the 1.4 TC to the kit (I did), but use it only situationally. Today I would go with 24-120 + 100-400 + 600mm f/6.3 and situationally consider the 1.4x TC.
I disagree with your comment on the tripod: in my experience, the smaller expedition boats will cut their motors when appropriate, making a medium tripod and gimbal a useful (though situational) addition. It’s also handy for something like the 600mm TC with the 2x teleconverter since you can use it like the world’s largest spotting scope (1680mm!) without tiring your arms before going out. The monopod may be a useful substitute on the boat. You’re not going to use it on the zode.
Binoculars are a good idea. There may be ones available on the ship (depending on size) for community use, but your own are better. Stabilized are an option, but are heavy and you may want to be looking out of them for hours when you’re polar bear hunting.
Dry bag: always a good idea for this kind of thing. I didn’t have one and I was sweating bullets every time. Fortunately, weather was good while we were out, but it’s not the kind of thing you want to leave to chance.
Additional obvious things: cold weather gear, all waterproof and heavily insulated. Gloves that insulate but still give you dexterity. You may consider glove warmers. Anti-nausea drugs. Consider prescription anti-nausea drugs if you get particularly sea-sick. Maybe it’ll be glass-smooth seas, but also a storm may roll through and you’ll end up having to deal with some heavy seas.
Bring a swimsuit (yes really) if you want to do a polar bear plunge. Or just go in your undies like most people did.
Most of all, have fun and take some awesome photos.
Thanks for your comment and for sharing your experience, lrcut.
The choice of lens is always a topic. This will be my third time in Svalbard: the first time, I used a 500/4E lens; the second, my beloved 600/4TC. Comparing these two, I conclude that the 600/4 is more handholdable. Not just because of the weight (considering TC and FTZ 600/4 are a bit lighter), but also because of its balance, which is more centered on the back.
Obviously, choosing the 600/4 or 600/6.3 is a matter of personal preference: both are excellent options.
But I prefer the 600/4, if I can just bring it with me.
The 600mm TC is certainly a killer lens if you can manage it hand-held, and clearly you can. Brighter, sharper, more flexible. I hadn’t realized the 500/4E was so heavy, so you’ve got lots of experience with this kind of setup!